The project is the interface in myPlan.cloud through which the documentation and task management of a series of construction operations that are expressly defined in location and time can be handled with the participation of construction industry actors.
Create project
- You can find the project selector on the left side of the heading.
- Click the arrow on the right, then select Create project.
- Enter the name and number of your construction project.
- Choose or create an organization to assign the project to.
- Select your subscription.
Tip: The organization is your construction company. Only those projects should be assigned that financially belongs to your company. The monthly fee will be calculated based on your subscription and peak usage.
The Organization is usually a company or institution that represents the projects added by the user in myPlan.cloud. The fee for projects added to the Organization is billed to the address defined in the Organization settings.
Tip: New organizatios can be created upon creating projects.
The user role is a collection of permissions that define exactly what actions users in a specific position are entitled to execute on a particular project.
Create role
- Select the desired project.
- Go to Project settings (
 ) > Roles.
 - Click Add role.
- Enter the name of the role.
- Check the boxes next to the folder you wish to grant permission.
- Click Save.
Grant role to user
- Go to Project settings () > Users.
- Select the user by clicking on them ().
- Select the desired role under the User’s role title.
- Click Save.
Tip: On the User site, you can set Other permissions on the top of the selected permission exclusively for the selected user.
Invititation of users
- Select the desired project.
- Go to Project settings () > Users.
- Click Invite user.
- Enter the email address of the invitee.
- Enter the additional information of the invitee.
- Click Next.
- Check the user roles you wish to grant to the invitee.
- Click Save.
Tip: For quick invitation click on your profile icon, select Invite user and enter the mail adress of the invitee.
We can pick whether to create the folders from a table or from ZIP format here.
- Go to Documentation.
- Click Add (
 ) > Multiple folder creation.
 - Select source…
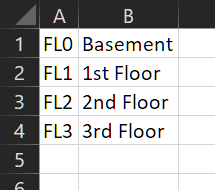
Create folders from table
- Open your table (e.g. Excel) that contains your folders.
- Copy and paste your table to the modal.
- Enter the additional information.
- Click Multiple folder creation (table).
Create folders from ZIP
- Enter the separating character in the folder name (in “FL1 – 1st Floor” the separator is the hyphen).
- Upload your ZIP that contains your folders.
- Click Multiple folder creation (ZIP).

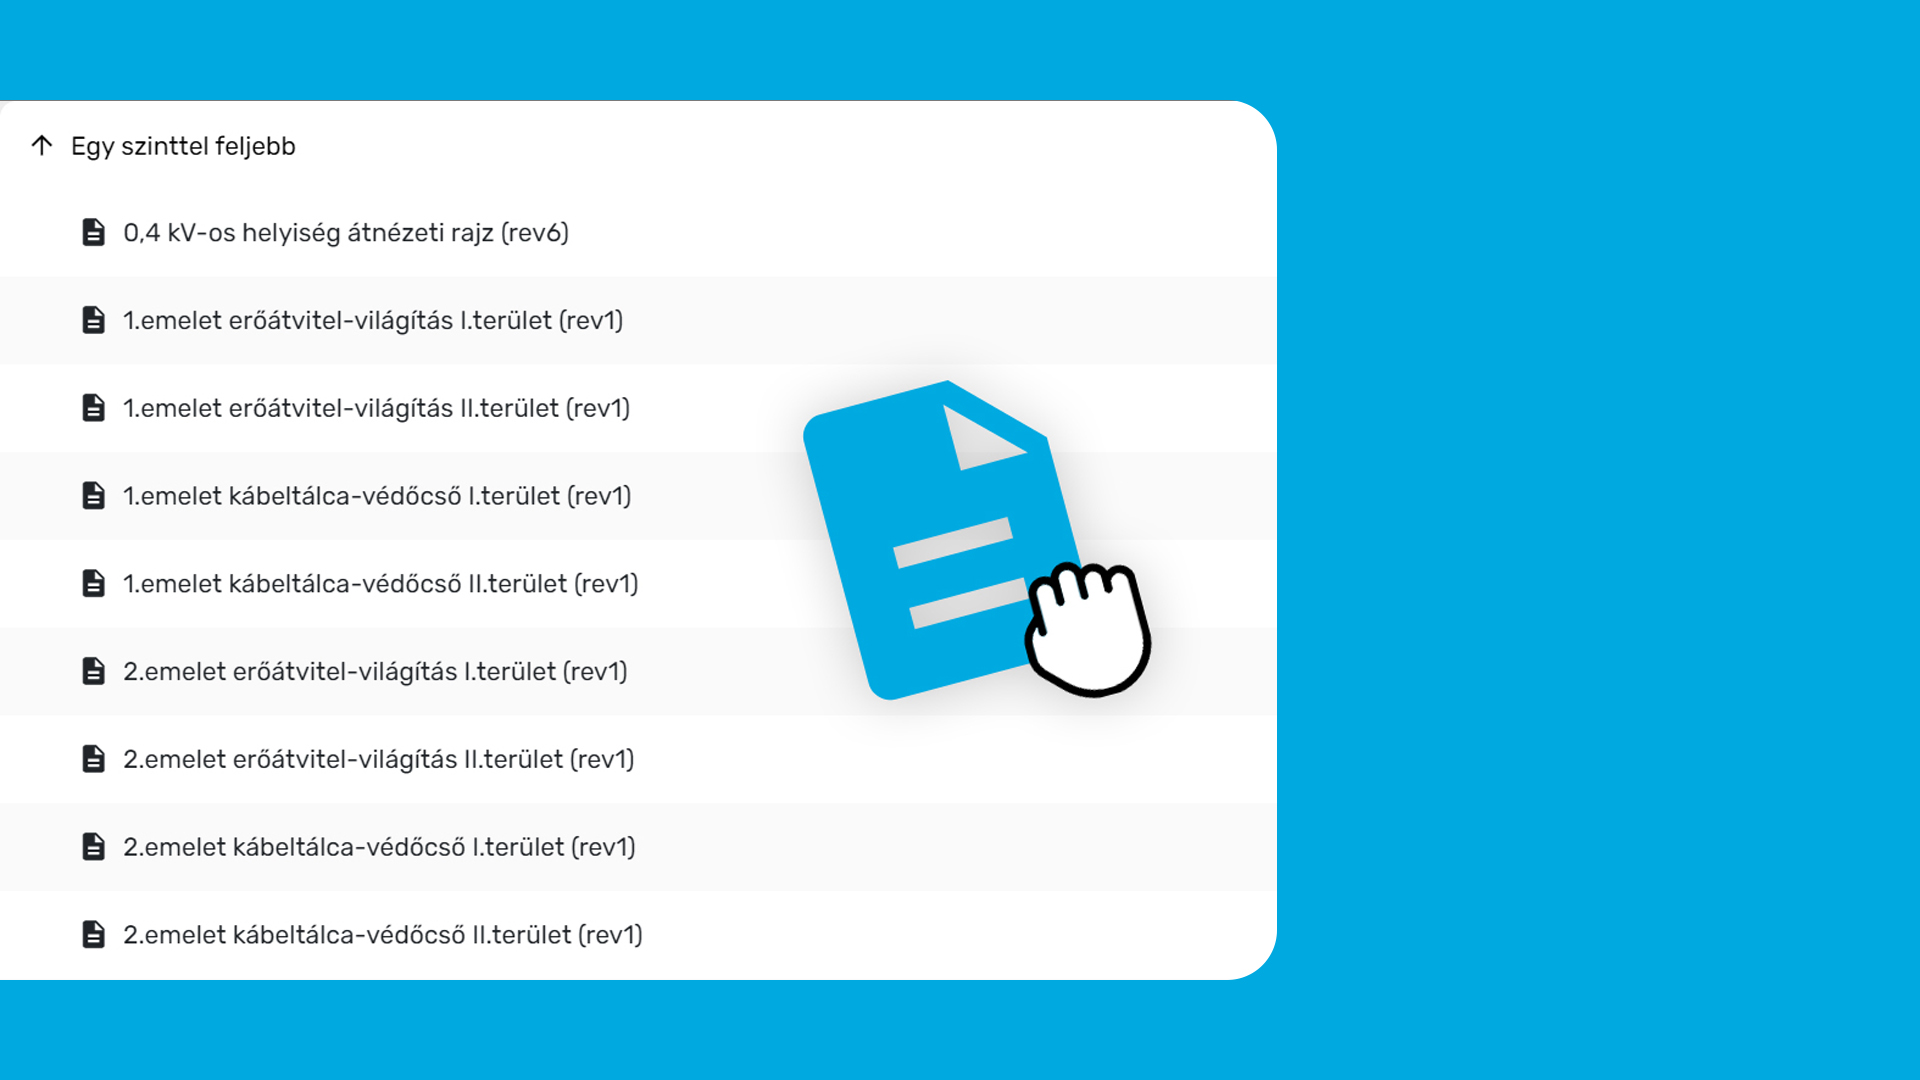
You can select Simple file addition where the document will be generated by the file name, and also the software generates the rev0 which will contain the file you are uploading.
On the other hand, you can choose Add document, where you can specify the plan number and the name of the document. When the document is created, you can upload the revisions of the document.
Add document
- Go to Documentation.
- Click Add () > Add document.
- Enter plan number and the name of the document.
- Optionally, enter the description of the document.
- Click Save.
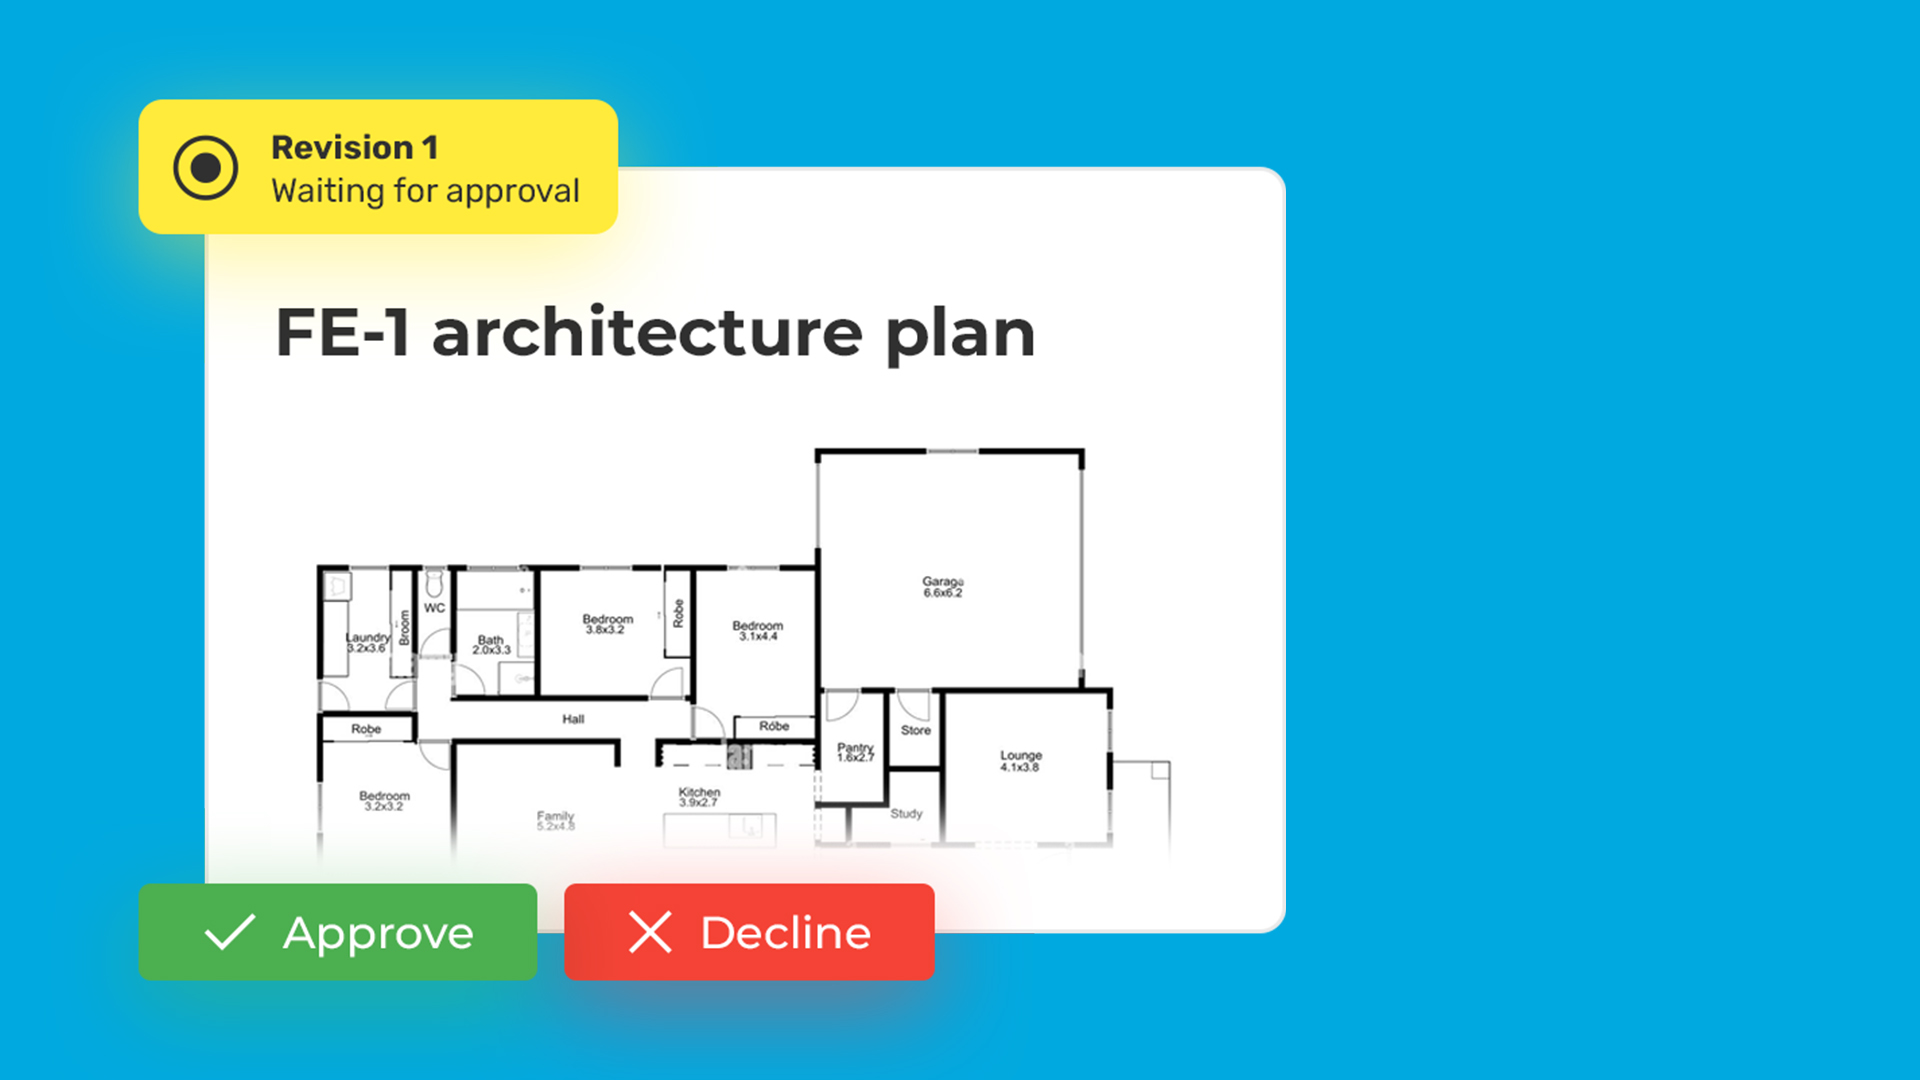
Once you have created the document, you have to upload the first revision of it.
Upload revision
- On the document page click Add revision ().
- Enter the revision number and the date of drawing according to the actual plan.
- Optionally, leave a comment on the revision.
- Browse and upload the file for the revision.
Tip: If you have saved your plan in .dwg and .pdf for example, you can upload both to the revision. PDF format is available for online preview.
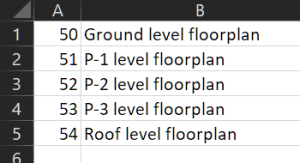
It is possible to create several documents at once by inserting a table. If an existing table (e.g. Excel) contains the documents as columns, we can determine which column is the document name and which is the plan number.
Multiple document creation
- Go to Documentation.
- Click Add () > Multiple document creation.
- Open your table (e.g. Excel) that contains your file names.
- Copy and paste your table to the modal.
- Enter the additional information.
- Click Multiple document creation.
In myPlan.cloud, you can attach multiple files to your document. For example, if your architecture plan of the ground floor has a PDF and an IFC file, just simply upload both files as a revision, since both files are related to a certain version of the plan.
Versioning documents
- Go to Documentation.
- Select the desired document.
- Click the Add revision () button.
- Enter the details of the new version.
- Upload the files related to the new version.
- Click Save.
Tip: Whenever your design plan changes it is recommended to upload it as a new revision to your document. Each revision is an individual entity and has to approved one by one.
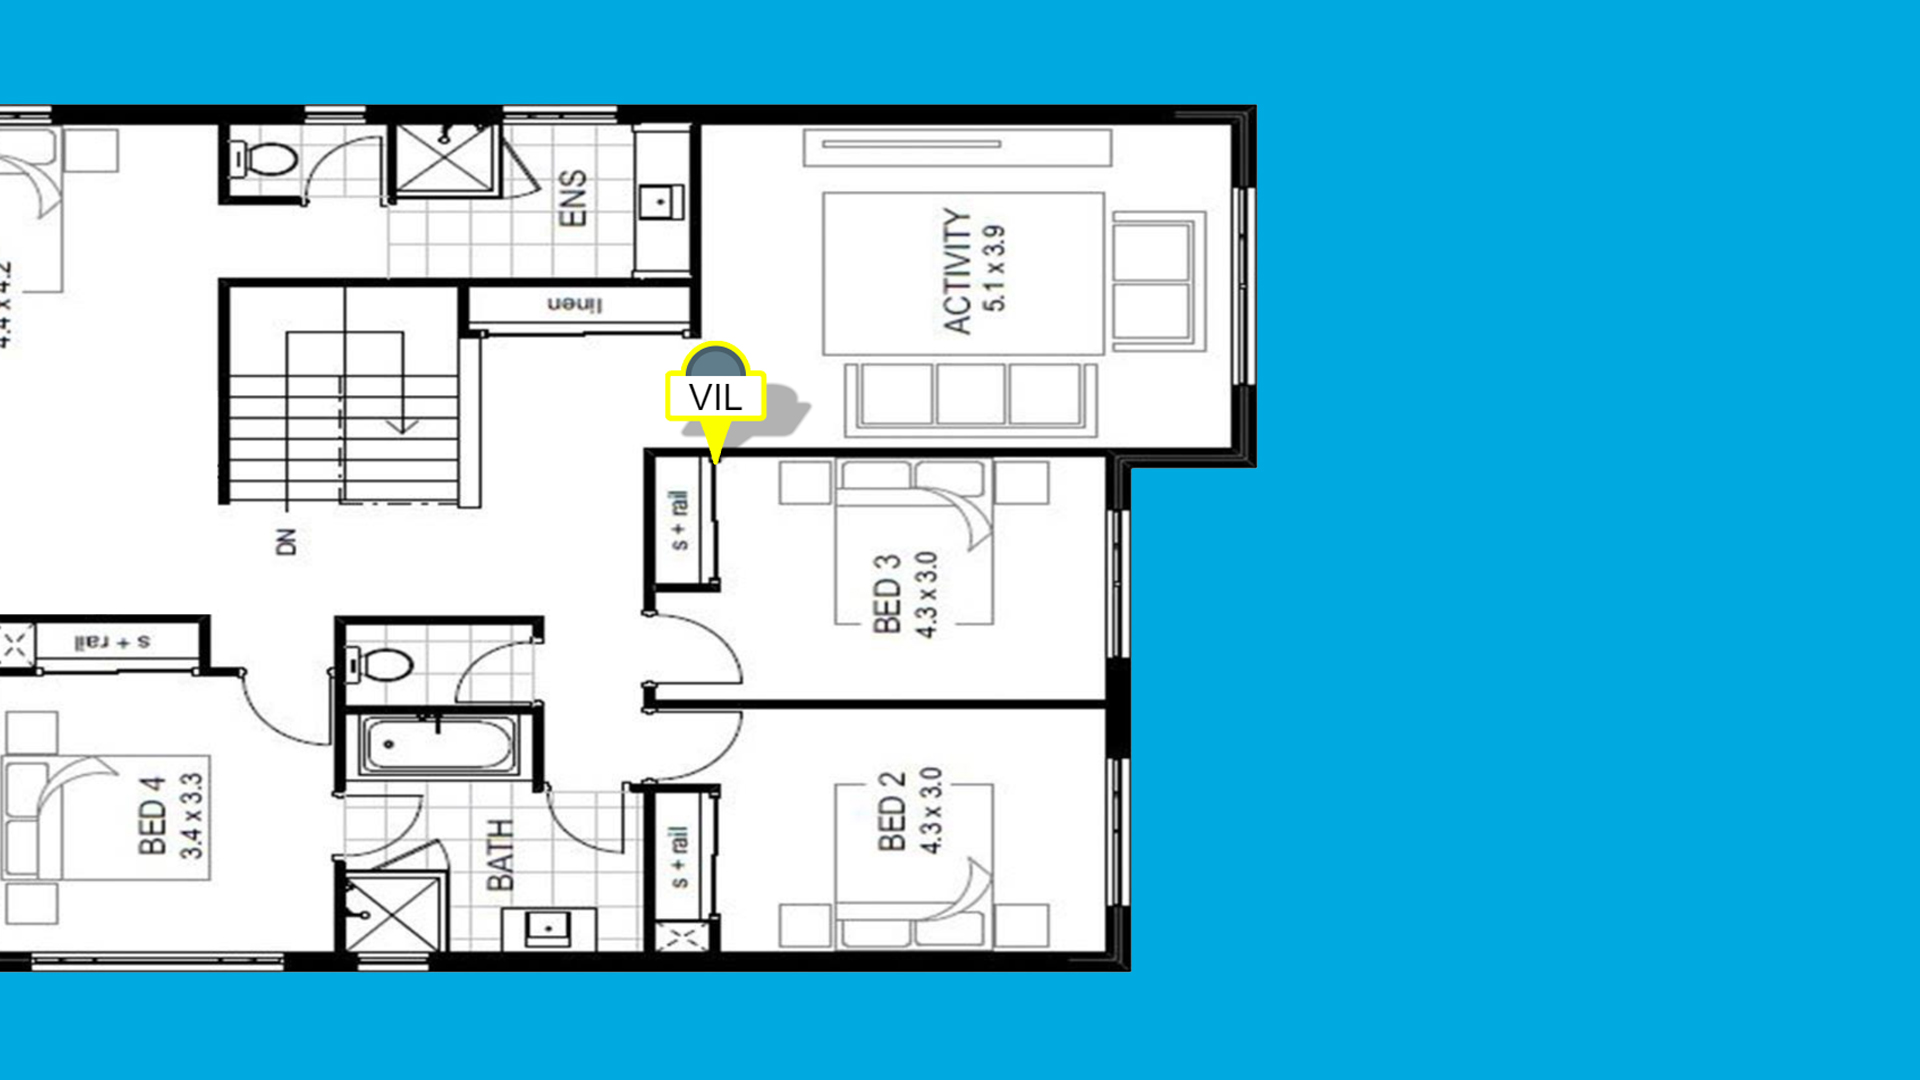
In myPlan.cloud, task management begins with one or more task locations, on which the colleague recording the task indicates the precise position of it. The task location is usually an architectural floor plan that serves as a map for any discipline to simply adjust to. Its sole aim is to highlight the location of the task to be done so that the colleague working on the construction may quickly locate the task on site.
Step 1: Create task location
- Select the desired project.
- Go to Project settings () > Task management.
- At Locations select Add location.
- Enter the name of the location.
- Click Select layout, then upload the desired plan from your device.
- Click Add location to finish.
The responsible group is the group of people to whom the task assigned. This group is typically a brigade or a subcontractor company that may include several people.
Step 2: Create groups responsible for the tasks
- Select the desired project.
- Go to Project settings () > Task management.
- At Responsible groups for tasks select Add group,
- Enter the name of the group and select the color (this will be shown on the marker).
- Optionally set the notification settings.
- Add users to group by selecting from the list of the invited users of the project.
- Select the permissions of the user.
- Click Add user to group.
Tip: In task management, create additional fields to add more properties to you task (e.g. “Cost of repairing”). Add labels to your tasks as well to filter them easier.
In order to smoothly create tasks, it is necessary to set up task management first as described above.
Create task
- Select the desired project.
- Go to Task management.
- Click Add task.
- Select the location of the task.
- Selec the responsible group for the task.
- Click on the map to place the marker, the task is located.
- Enter the task name and describe the details.
- Optionally, if you have custom fields, enter the values.
- Set the deadline, by when the task has to be done.
- Optionally, upload images.
- Click Save to finish.
Tip: In task management, you van see the list of tasks and you can filter them by status, responsible group, deadline, etc.
In myPlan.cloud, you can attach multiple files to your document. For example, if your architecture plan of the ground floor has a PDF and an IFC file, just simply upload both files as a revision, since both files are related to a certain version of the plan.
Most BIM files have preview as well, just as in the case of PDF.
View BIM models
- Go to Documentation.
- Selec the desired document and revision.
- Click the preview (
 ) icon.
 - After the viewer loaded, you can view the model.